Dashboard Overview
Your command center for managing servers, apps, and billing at a glance. The Dublyo dashboard puts everything you need in one place — server health, deployments, credit balance, and quick actions to get things done fast.
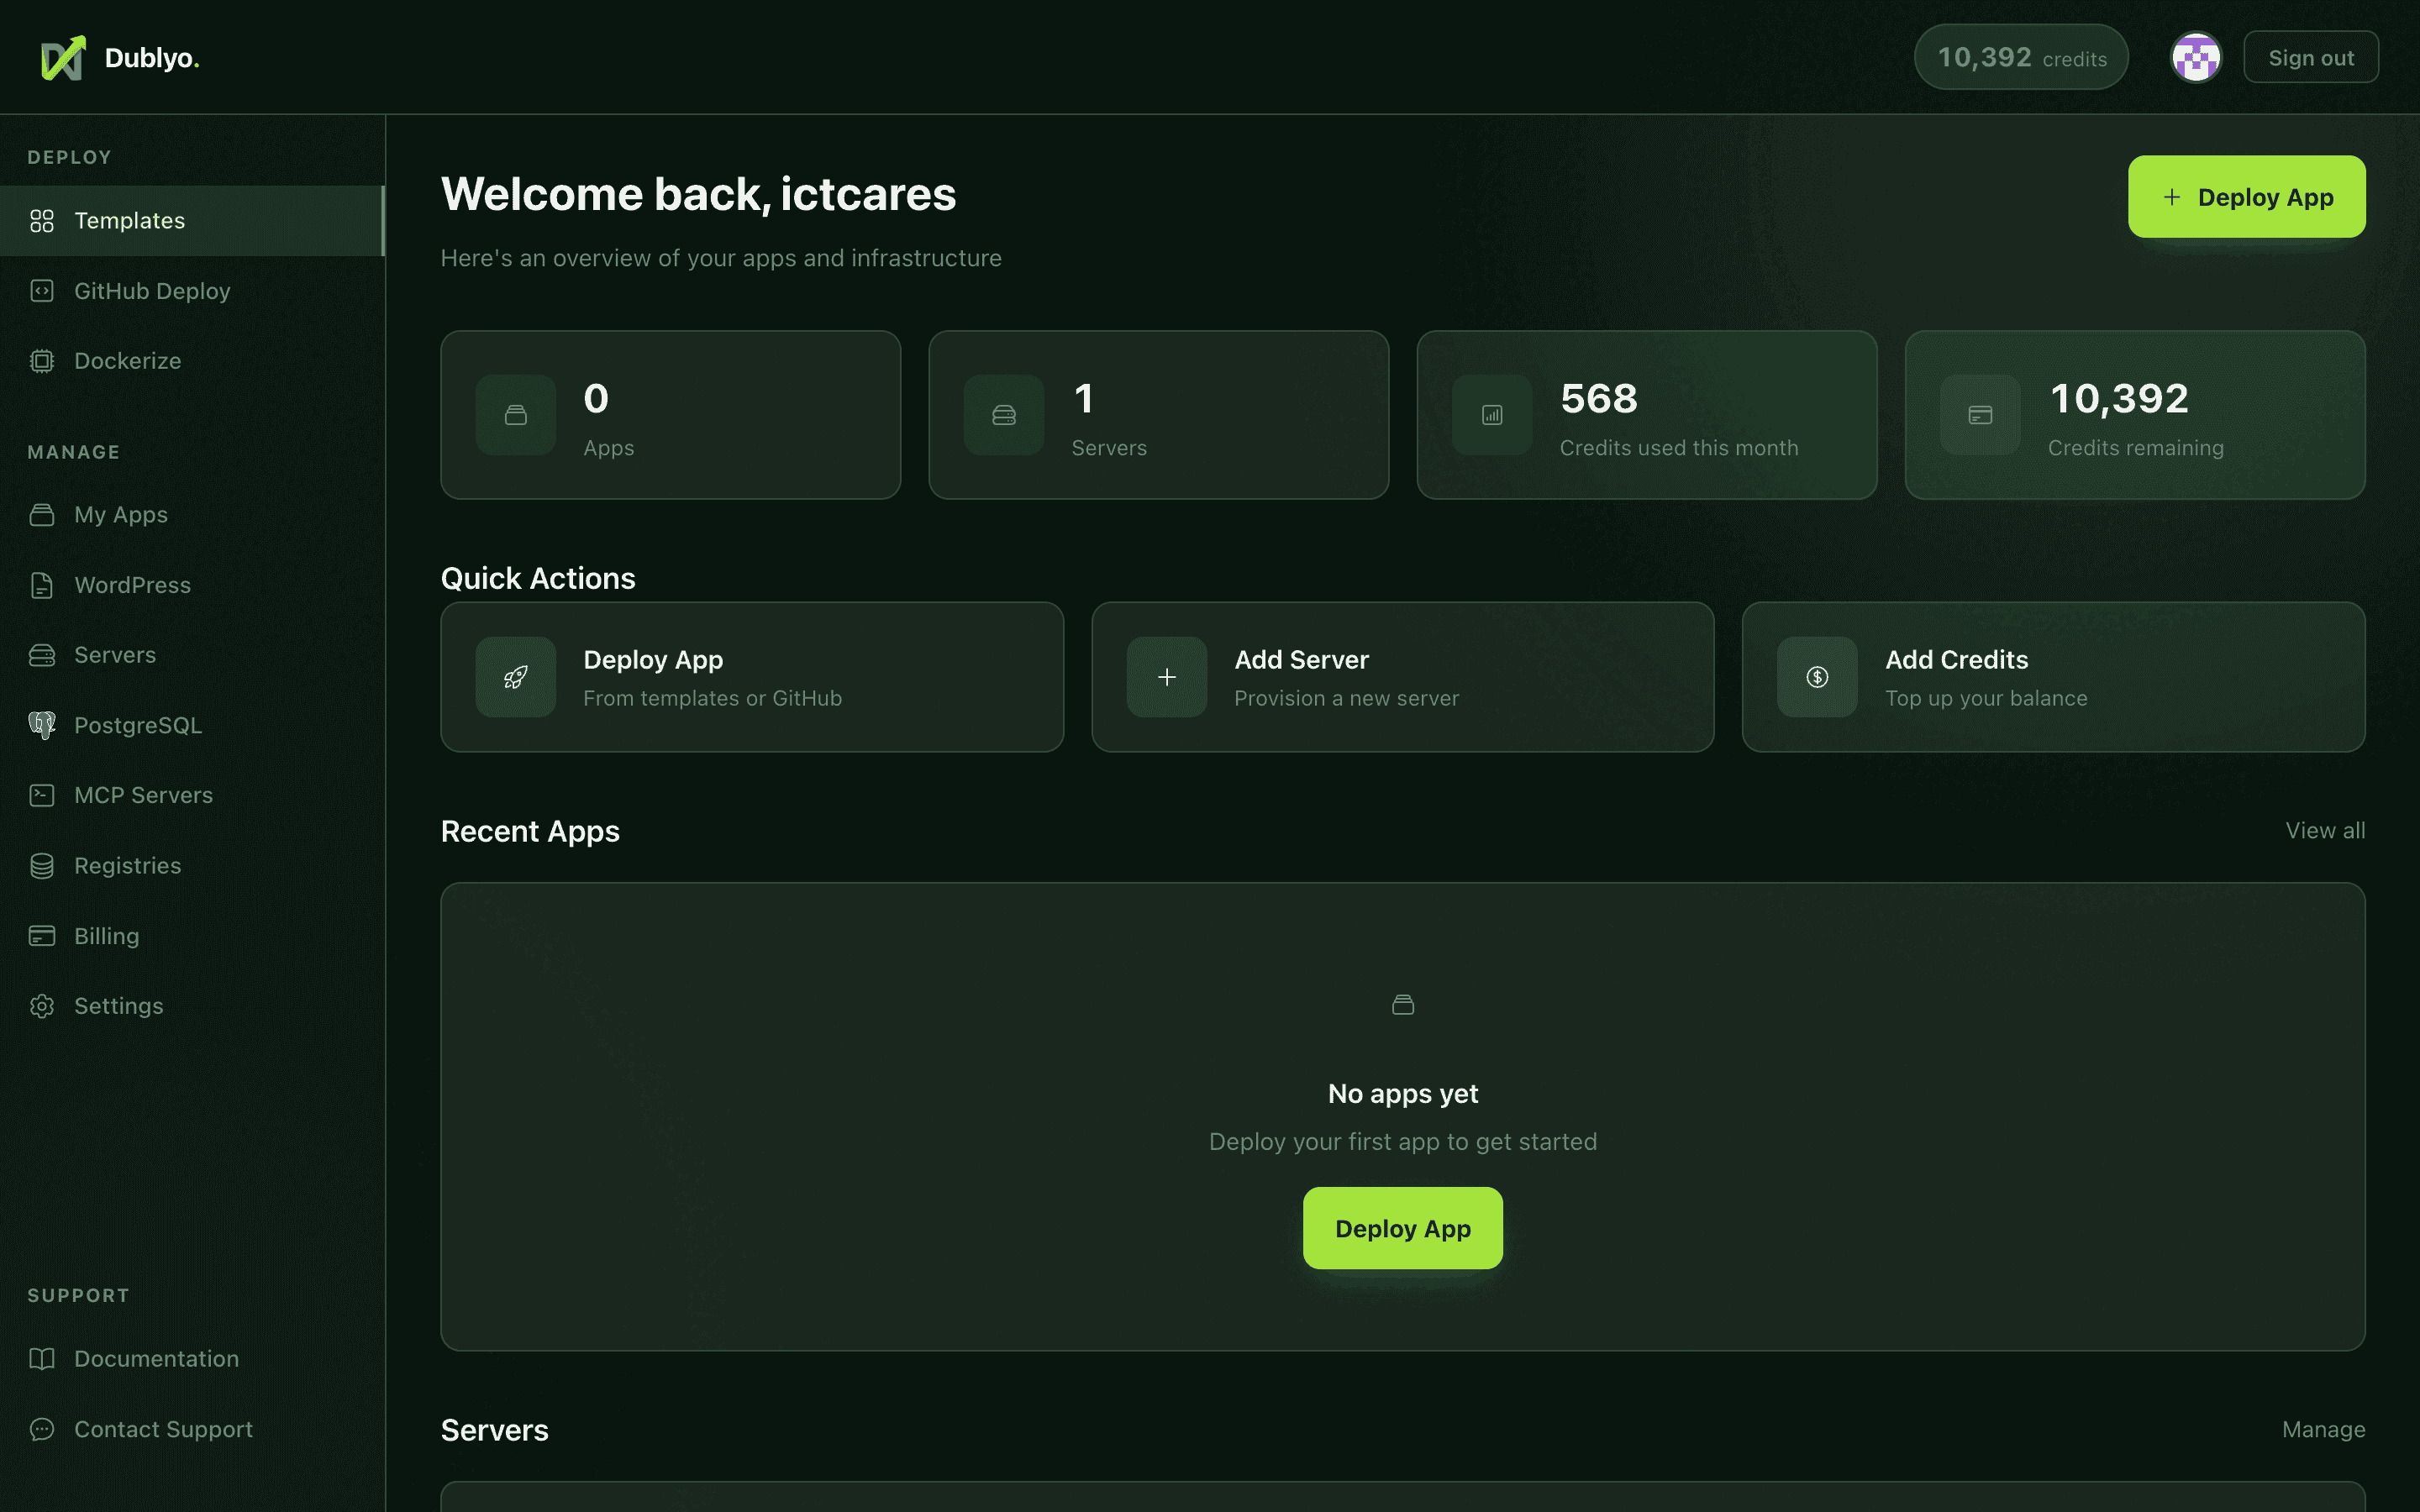 The Dublyo dashboard — your servers, apps, and billing in one view
After signing in with GitHub, the dashboard is the first thing you see. It gives you an at-a-glance summary of your infrastructure: how many servers are running, their current status, and your credit balance. From here, you can navigate to any part of the platform.
Dashboard Layout
The dashboard is divided into three main areas: the sidebar navigation, the top bar, and the main content area. Each is designed to keep your most important information visible without clutter.
Sidebar Navigation
The sidebar on the left is your primary way to move between sections. It stays visible on desktop so you can switch contexts quickly.
- Servers — View and manage all your cloud servers
- Deploy — Browse 100+ templates and deploy apps in one click
- GitHub — Connect repositories and deploy directly from your code
- Billing — Check your credit balance, view usage history, and top up
- Settings — Manage your account, API keys, and preferences
Top Bar
The top bar displays your GitHub avatar and username, along with your current credit balance. You can quickly access account settings or sign out from here.
Main Content Area
The central area of the dashboard shows your server cards — a live overview of every server you've created. If you have no servers yet, you'll see a prompt to create your first one along with the onboarding checklist.
Server Cards
Each server you create is represented by a card on the dashboard. Server cards give you a quick snapshot of what's running and how it's performing — without needing to click into each server individually.
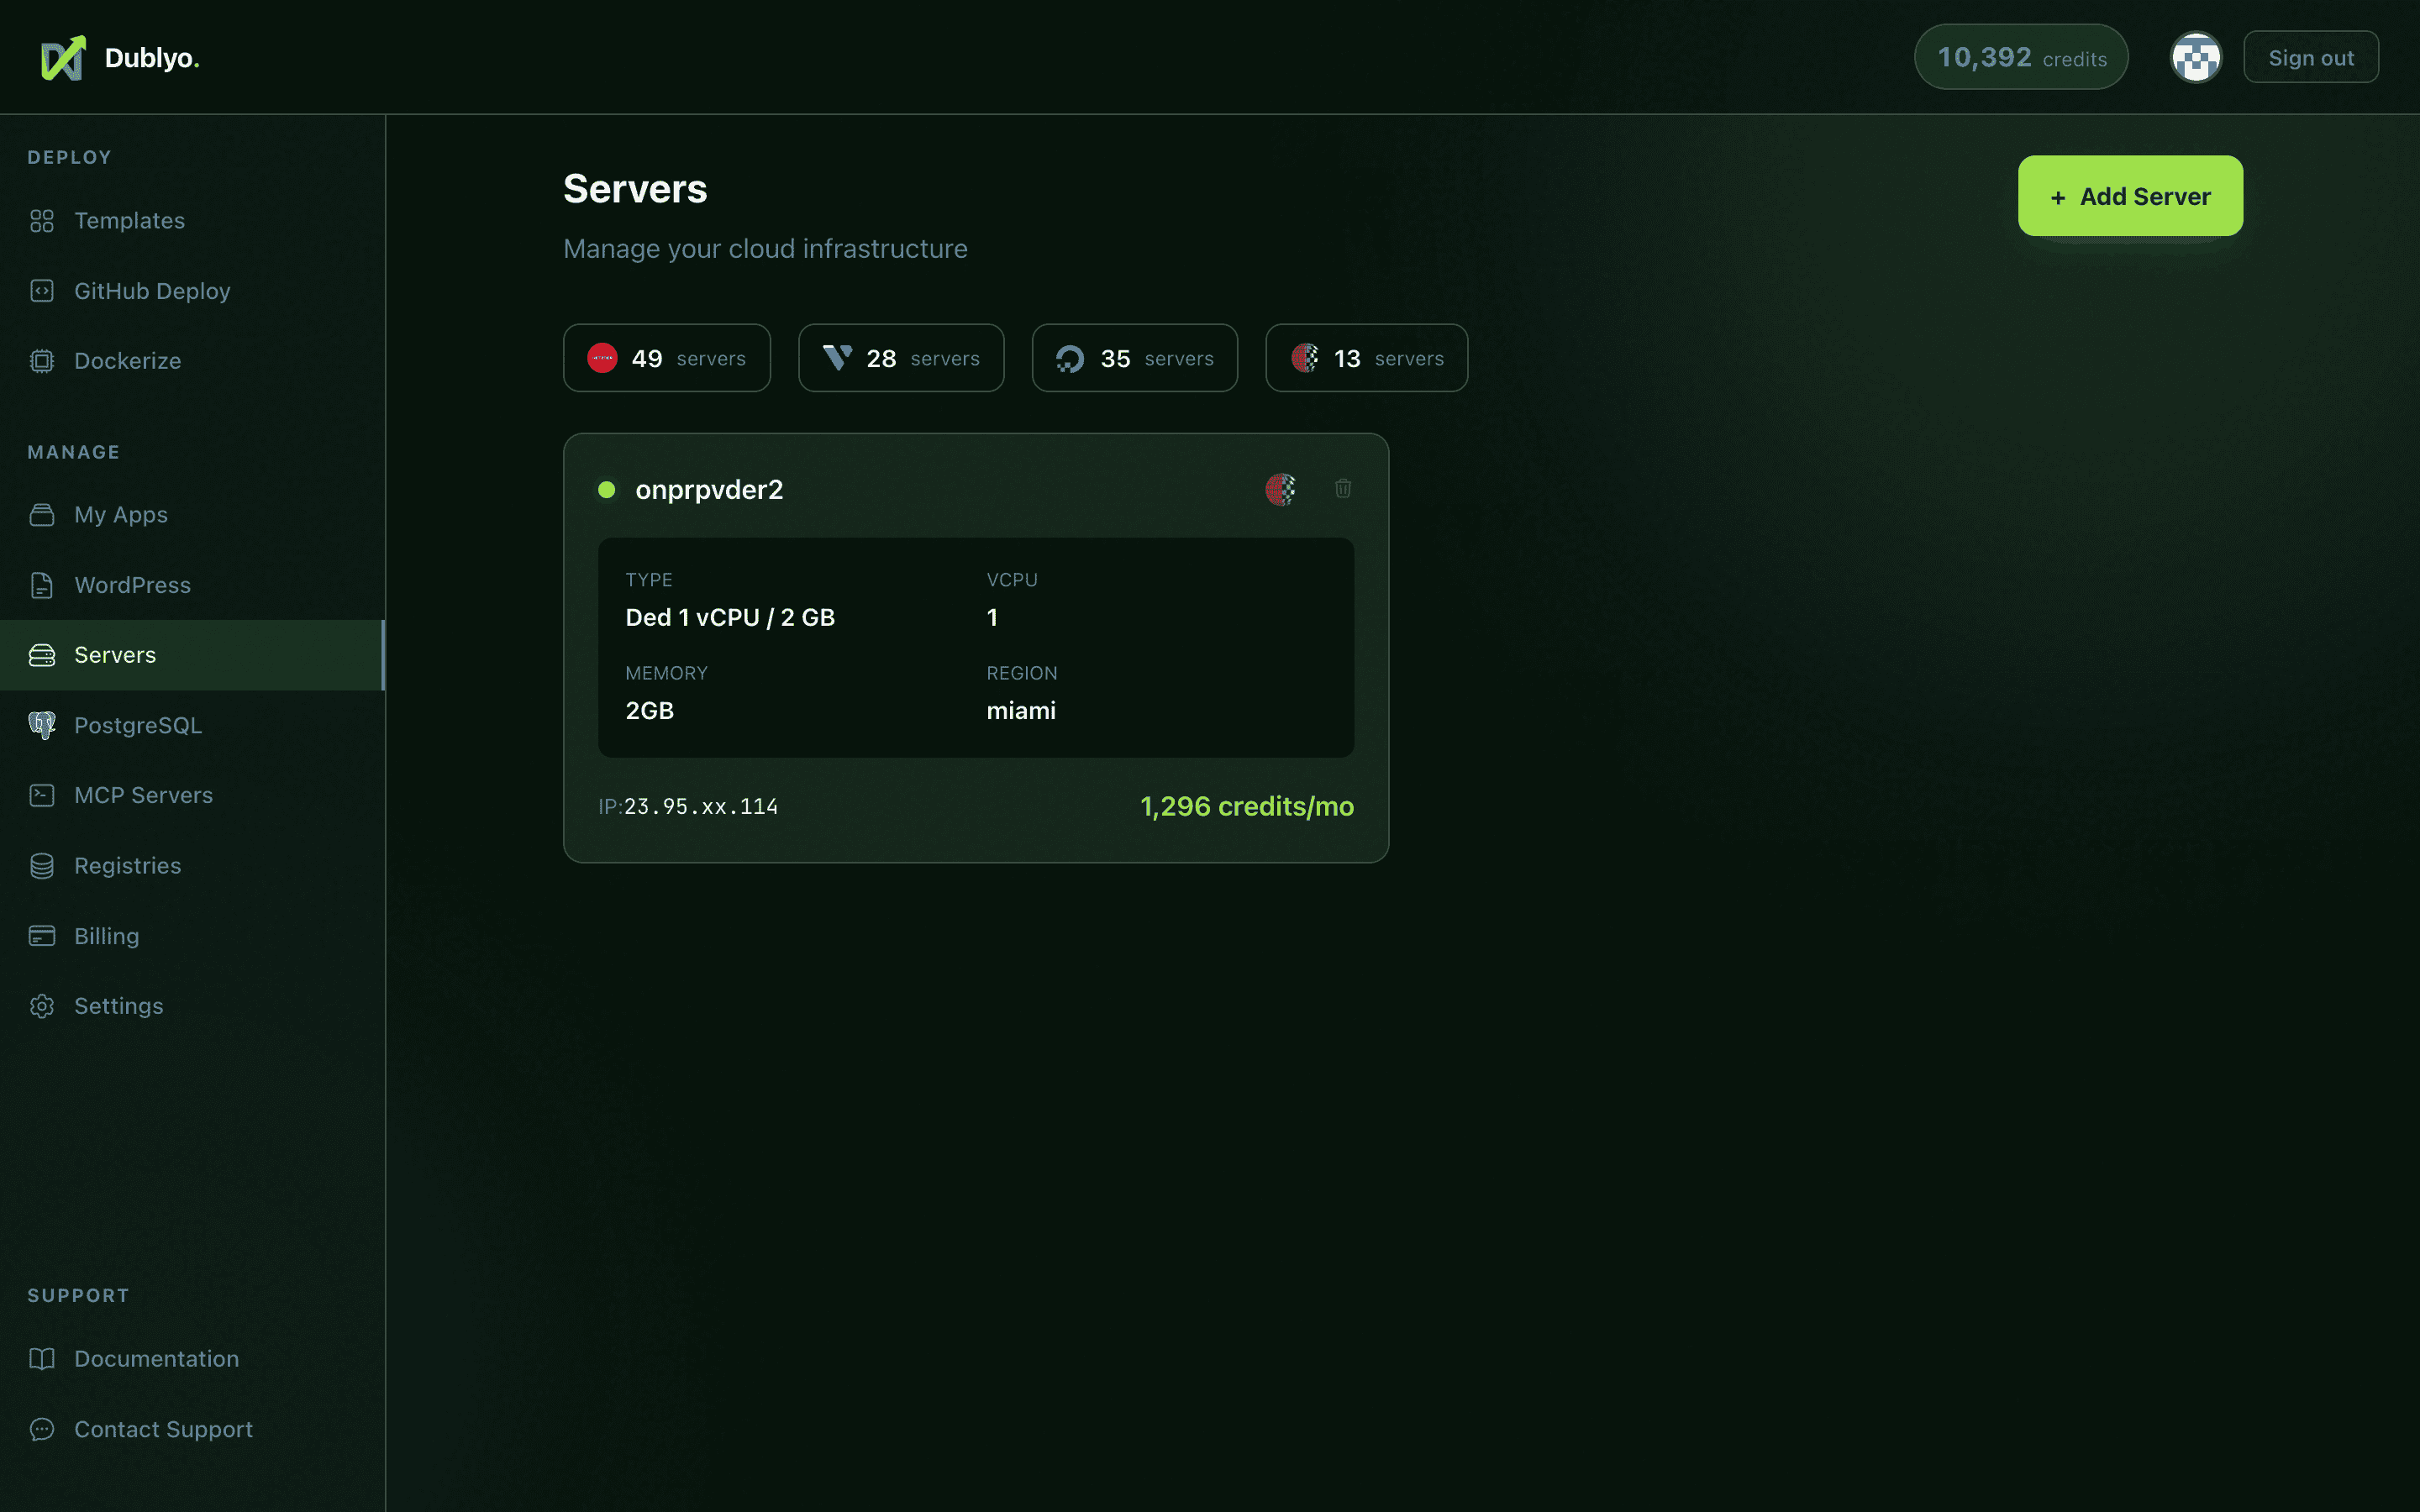 Server cards show status, provider, IP, and resource usage at a glance
What Each Card Shows
| Field | Description |
|---|---|
| Server Name | The name you gave the server when creating it |
| Status | Current state — Running, Stopped, or Provisioning |
| Provider | The cloud provider hosting the server (e.g., Hetzner) |
| IP Address | The server's public IP, partially masked for security (e.g., 116.xxx.xxx.42) |
| Resource Usage | CPU and memory usage indicators so you can spot overloaded servers |
Server Status Indicators
- Running — The server is online and actively hosting your apps. Credits are being deducted hourly.
- Stopped — The server is powered off. No credits are deducted while stopped, but your apps will be offline.
- Provisioning — The server is being set up. This typically takes 2-4 minutes. A progress bar shows the current stage.
Click any server card to open its detail page, where you can manage deployed apps, view logs, restart the server, or adjust settings.
Quick Actions
The dashboard is designed to get you from idea to deployed app as quickly as possible. The most common actions are always just one or two clicks away from the sidebar.
Deploy from a Template
Click Deploy in the sidebar to browse 100+ pre-configured apps. Search by name or filter by category — databases, CMS, AI tools, monitoring, and more. Select a template, pick a server, and deploy in seconds.
Deploy from GitHub
Click GitHub in the sidebar to connect a repository. Dublyo auto-detects your framework and builds it. Supports Node.js, Python, Go, Ruby, PHP, and any project with a Dockerfile.
Create a New Server
Click Servers and then "+ Add Server" to spin up a new cloud server. Choose your provider, region, and server type. Your server will be ready in about 3 minutes.
Onboarding Checklist
If you're new to Dublyo, the dashboard shows an onboarding checklist that guides you through first-time setup. The checklist tracks your progress across these milestones:
- Sign in with GitHub
- Add your first credits
- Create your first server
- Deploy your first app
Each step links directly to the relevant page, so you can complete the entire setup without searching for anything. The checklist disappears automatically once you've finished all the steps.
Notifications & Alerts
Dublyo keeps you informed about important events through two notification systems: banner alerts for persistent warnings and toast notifications for action feedback.
Low Credit Warning Banners
When your credit balance drops below a threshold, a persistent banner appears at the top of the dashboard warning you to top up. This ensures you never accidentally run out of credits and lose your running servers.
- The banner shows your current balance and an estimated time until depletion
- A direct link to the billing page lets you top up immediately
- The banner is color-coded — yellow for low balance, red for critically low
Toast Notifications
Short-lived toast notifications appear in the corner of the screen to confirm actions and report results. You'll see toasts for events like:
- Deploy success — "Your app has been deployed successfully"
- Server created — "Server is now provisioning"
- Server started/stopped — Confirmation of power actions
- Credit top-up — "Credits added to your account"
- Errors — If something goes wrong, a red toast explains what happened
Toasts disappear automatically after a few seconds but can be dismissed early by clicking them.
Mobile Experience
The Dublyo dashboard is fully responsive and works on phones and tablets. The layout adapts to smaller screens so you can manage your servers from anywhere.
Bottom Tab Bar
On mobile devices, the sidebar navigation is replaced by a bottom tab bar — similar to native mobile apps. The tab bar gives you quick access to the same core sections:
- Servers — Your server list and status
- Deploy — Template browser and deployment
- GitHub — Repository connections and deploys
- Billing — Credit balance and top-ups
- Settings — Account management
Full Feature Parity
Every feature available on desktop works on mobile. You can create servers, deploy apps, manage billing, and view logs — all from your phone. Server cards stack vertically and are touch-friendly, with large tap targets for actions.
dublyo.com in your mobile browser and use "Add to Home Screen" from the share menu. Need Help?
Can't find what you're looking for? Check the full documentation or reach out.